The ideas here run from a simple box you can sit inside, to a Christmas tree built from stacked boxes, to a full holiday train with one box per car, and the real choice depends on who is in front of the camera.
Kids can work with the Inside the Box pictures or the train; a dog calls for a box it has already sniffed for a day or two; and if nobody wants to pose, a gingerbread village of brown box scraps can sit on a table all season.
1. Inside the Box Pictures
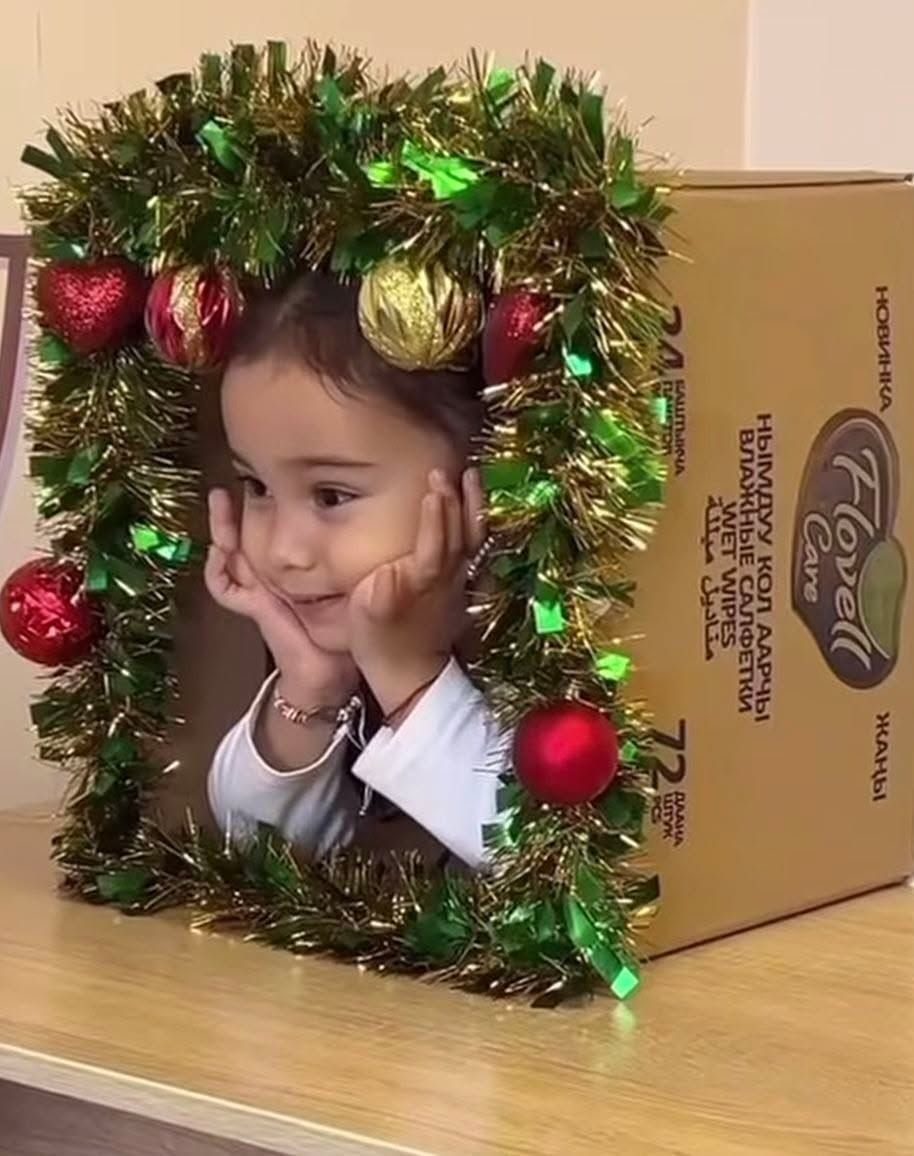
A big appliance box is all a child needs for this one, and the cut-out is the only real work.
Cut a wide opening on one side, or just remove the top flaps, so a kid can sit or stand with shoulders showing.
Tinsel and ornaments do the decorating, and I’d tape or hot-glue them on rather than hang them, since kids lean on everything.
Skip the printed brand text by turning the box so the plain side faces the camera, or cover it with wrapping paper.
Shoot from slightly above, and keep it to a few minutes before the novelty wears off.
2. Christmas Tree from Boxes
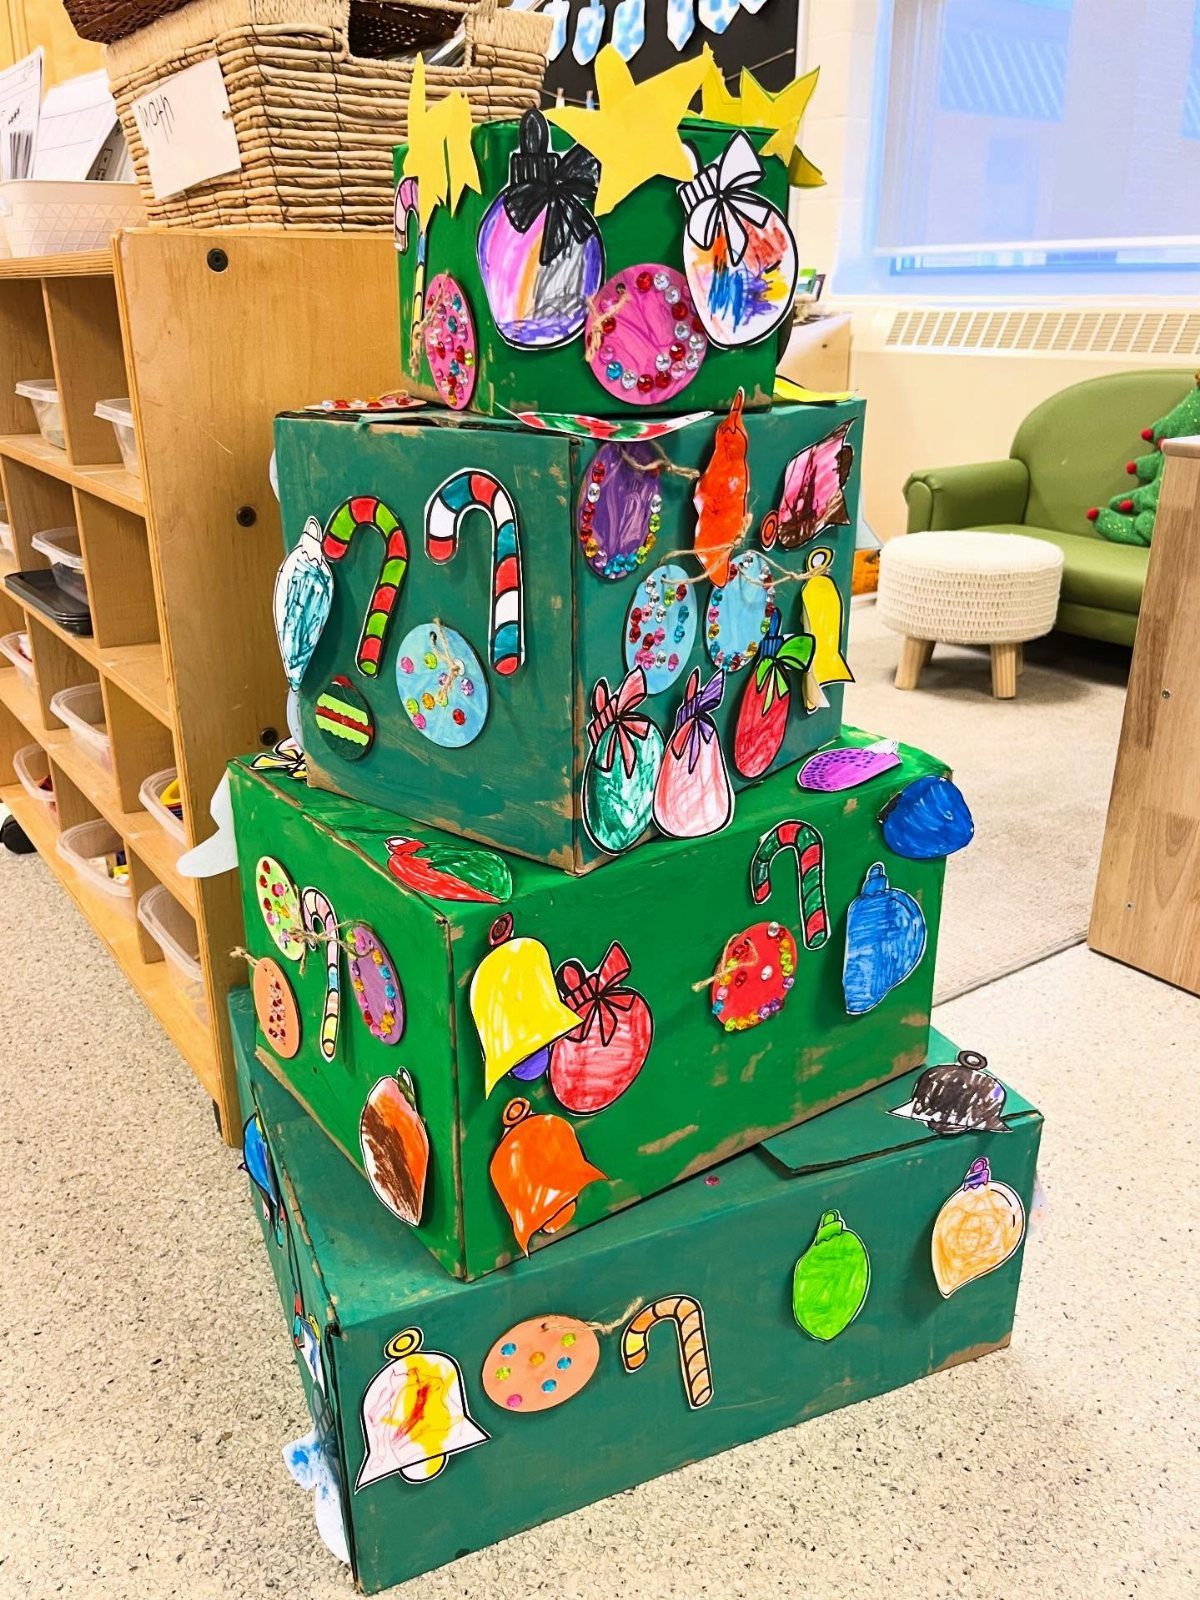
Stacking boxes from largest to smallest gives you a tree that costs almost nothing and stores flat afterward. Paint each box green, and let the paint dry fully before stacking, or the layers will stick.
I’d tape the boxes together at the seams so the stack doesn’t tip.
A star cut from yellow cardstock on the smallest box finishes it. This works well for a classroom or a living room corner.
3. Pets Dressed Up in Cardboard Boxes
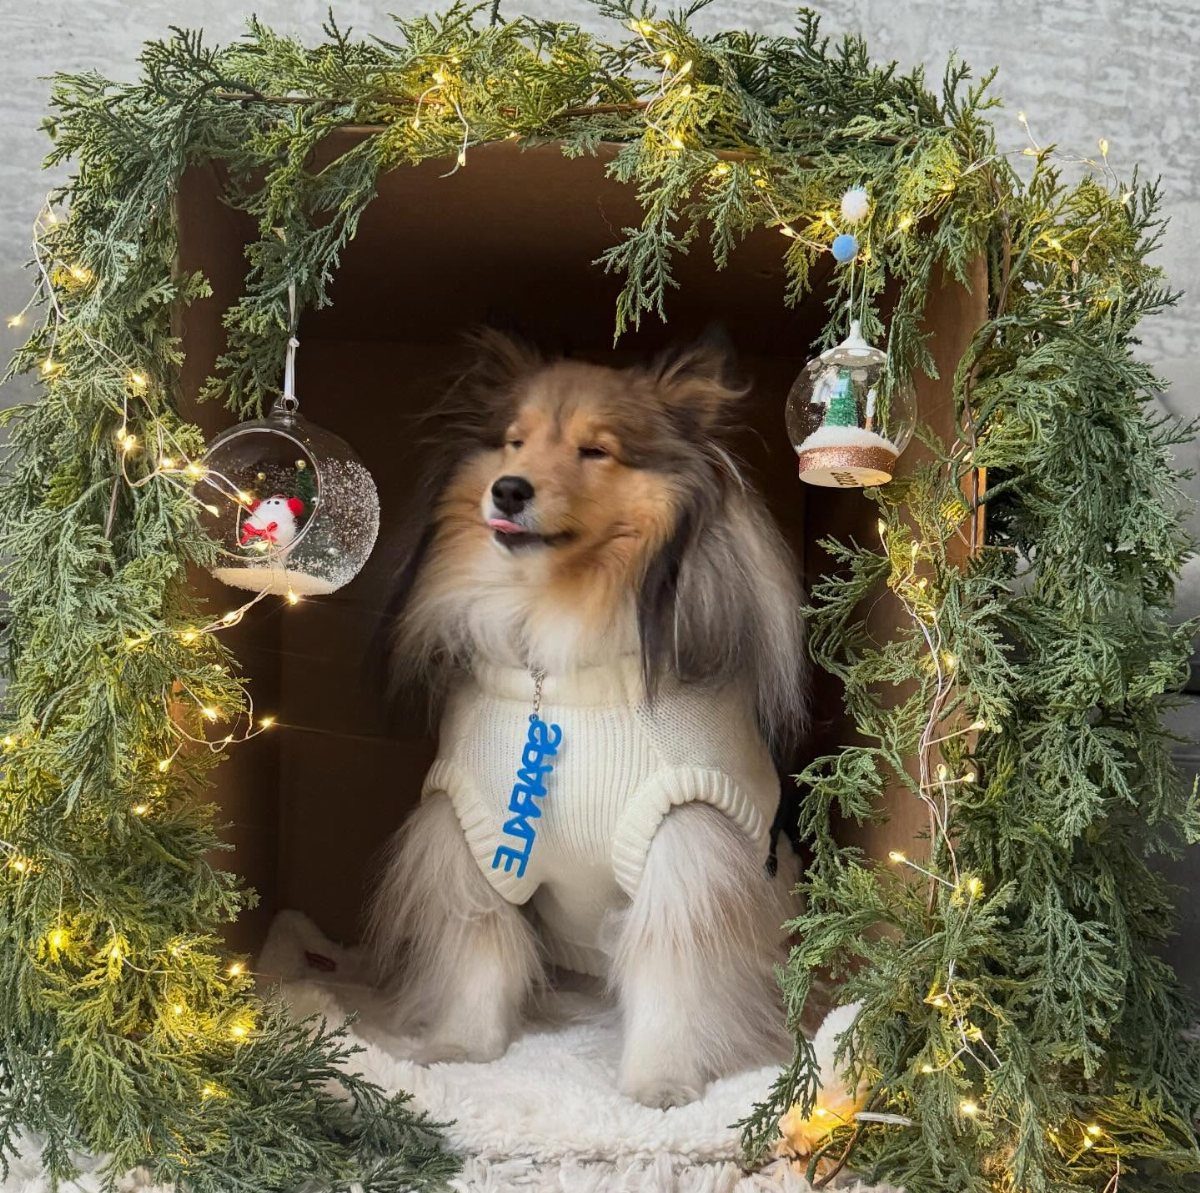
Dogs in boxes work best when the box is already part of the scene.
Let the pet sniff the box for a day or two before the shoot, and keep ornaments and cords out of chewing range.
Battery-powered lights are safer than plug-in strings. A sweater adds personality without fuss.
Bring treats and expect a handful of takes. I’d rather get one calm shot than keep trying until the dog bolts.
4. Cardboard Gingerbread Village
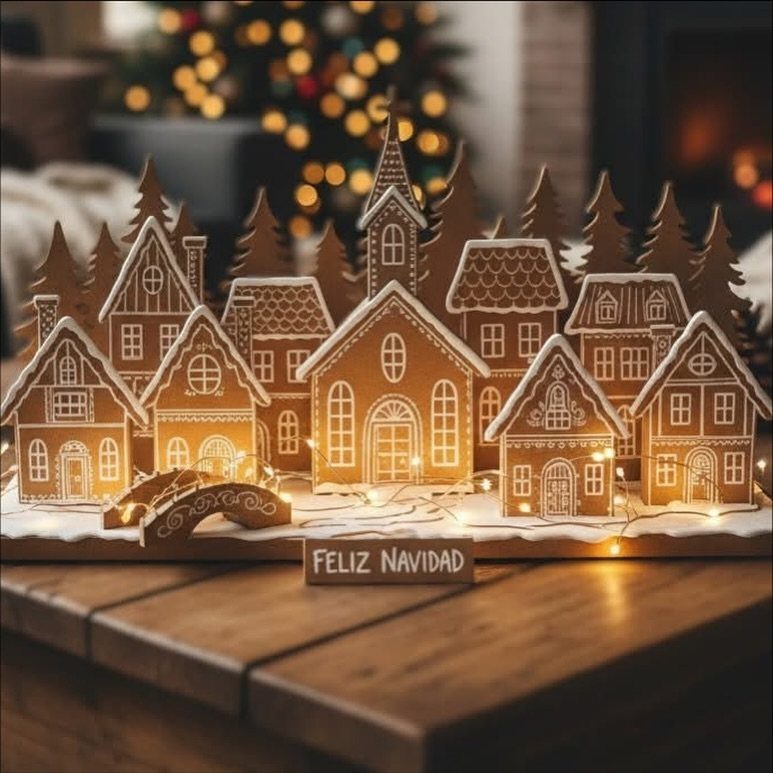
Brown cardboard already looks like gingerbread, so the only paint you need is white for the icing details. Cut small houses from box scraps, tape the walls together, and pipe on trim with a brush or a paint pen.
Fairy lights tucked behind and between the buildings make it glow, and a hand-lettered sign gives the village a name. I like a mix of tall and short houses for variety.
Set it on a table where it can stay up all season. Hot glue holds better than tape.
5. Cardboard Box Holiday Train
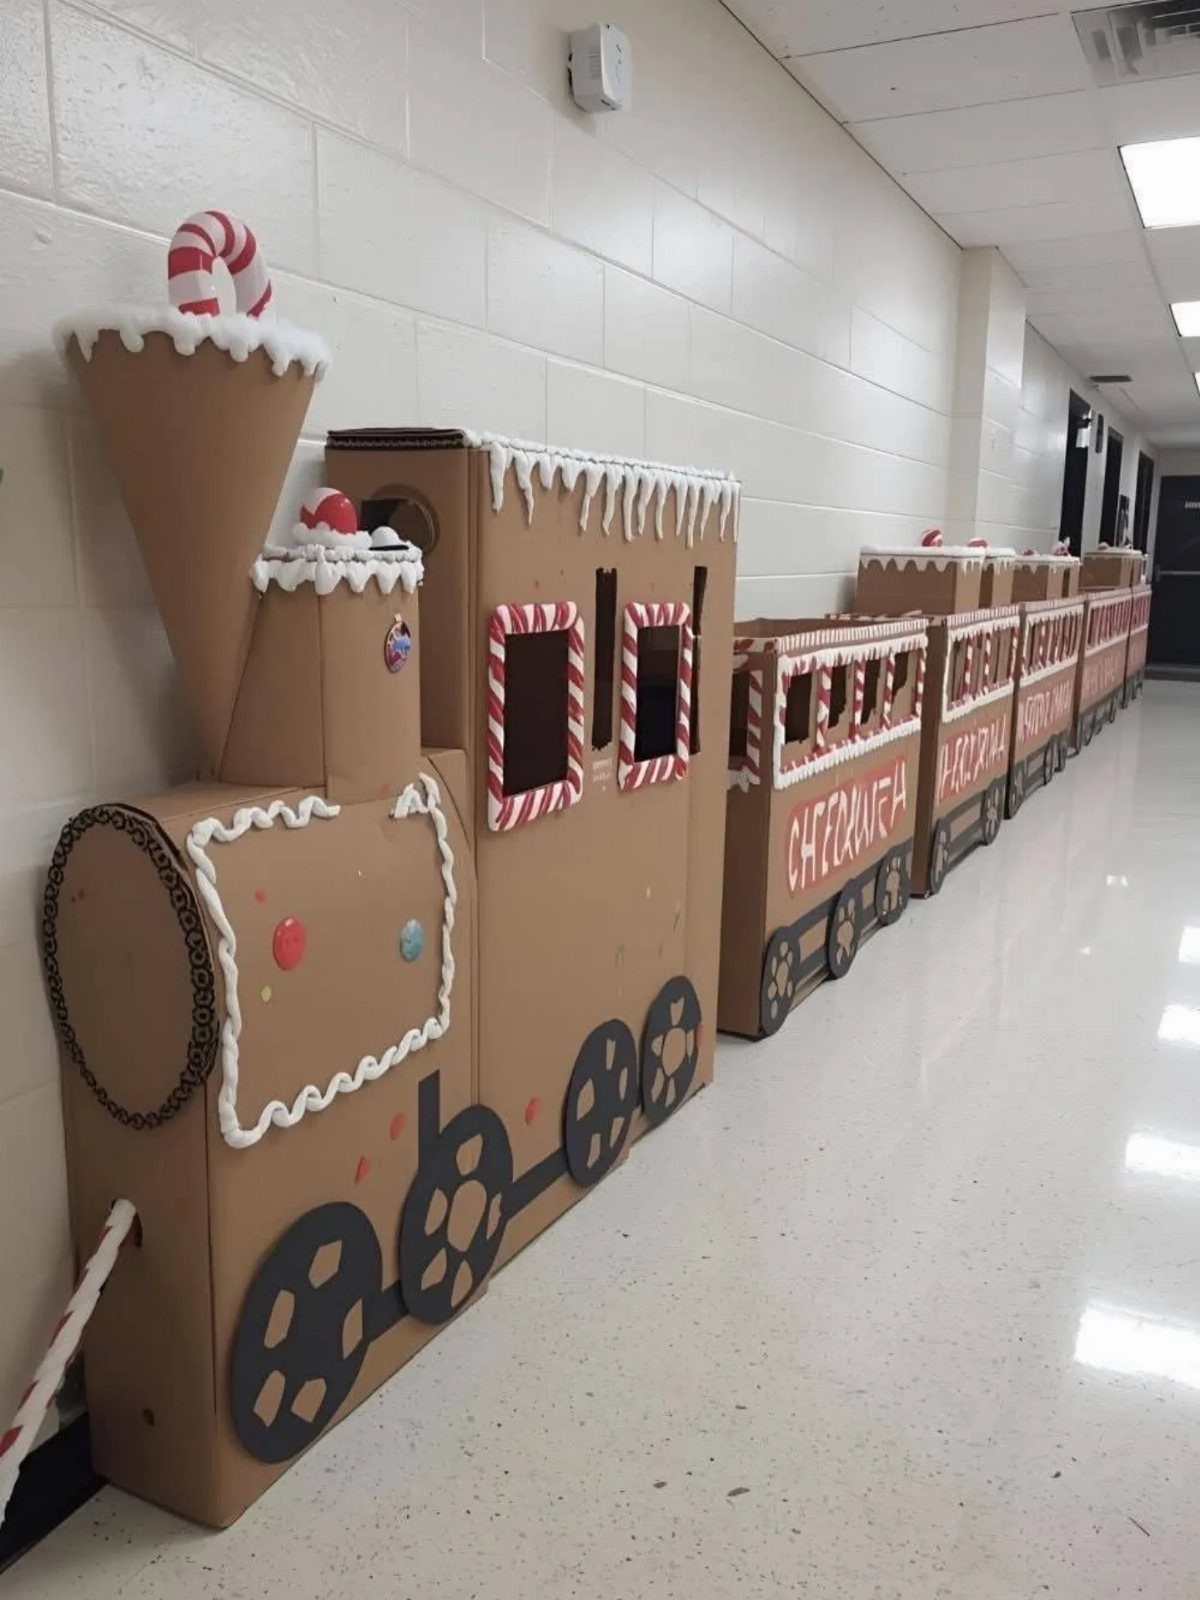
A holiday train is the biggest cardboard project here, and it rewards planning.
Use one box per car, and cut the bottoms off if kids will wear them. Paint each car, then add candy cane stripes with red paint or tape.
Cotton batting or white paint makes the faux snow. Lettering on the sides, such as names or a greeting, is easy to do with a marker.
Connect the cars with rope or string so they stay in line. It suits a hallway or a party where a group of kids can build it together.
Creating Festive Atmospheres
Warm white string lights do more for a cardboard setup than any other single item. Battery-powered strands let you tuck them inside the box without hunting for an outlet, and they stay cool near paper.
A divided box with cubbies is a good frame for layering. Mini frosted trees and gold ornaments fill the corners, and the lights run along the dividers so each cell glows.
Gold reads richer than silver against brown cardboard. Red pajamas on the kids give the shot a clear color anchor.
For wrapped green boxes, mix textures: paper cutouts, pom-poms and gold beads catch light differently. Keep tinsel to one or two spots so it doesn’t take over the frame.
Photo Editing Tips
Brighten exposure first, since indoor Christmas light often leaves photos dim and yellow. In Lightroom, lift exposure a little and pull the highlights down so string lights don’t blow out to white blobs.
Canva is the quicker choice for adding a greeting, a year or a border, and it works for card layouts too.
I’d edit lightly. If the box looks glossy or the skin tones turn orange, you’ve gone too far.
Involving Pets in Photos
A grid layout solves the hardest part of pet photos: each animal gets its own cell.
A box divided into 12 cells, with every dog in a red hat or scarf, reads as one picture even if the shots were taken separately.
You can also build a 3×3 grid from 9 brown boxes and place family members and pets side by side, each in a playful pose.
Keep hats and scarves loose and take them off between shots.
Frequently Asked Questions
What are some creative Christmas ideas using boxes?
A big appliance box with a wide opening cut in one side makes a frame for a child to sit inside, decorated with tinsel and ornaments.
A stack of green-painted boxes, biggest at the bottom and smallest on top, reads as a tree and folds down flat for the closet afterward.
Brown boxes also pass for gingerbread, so small houses cut from scraps and lit with fairy lights make a village. A row of painted boxes roped together makes a holiday train for a group of kids.
How can I turn my photo into a Christmas photo?
Indoor holiday shots usually come out dim and yellow, so I’d raise the exposure before touching anything else.
Canva handles the finishing touches faster: a greeting, the year or a simple border goes on in a couple of minutes. Keep the edit light: glossy-looking boxes or orange skin tones mean you’ve overdone it.
Where can I get free Christmas pictures?
The cheapest route is to shoot your own with a cardboard box setup, since the boxes cost almost nothing.
A large box with a cut-out opening, tinsel and a few ornaments gives a kid a festive frame in minutes. Warm white battery-powered string lights add the glow, and a quick edit in Lightroom or Canva finishes the picture.